Easy Lemon Squares Recipe: Your Guide to the Perfect Crust and Creamy Filling
For anyone who has ever embarked on the delightful but often frustrating quest for the truly perfect lemon square, the journey can feel endless. You try recipe after recipe, each promising the ultimate balance of tart, sweet, and buttery, yet few ever truly measure up. If you’ve been searching for the holy grail – a recipe that delivers a tender, shortbread crust beneath a luscious, zingy filling – your search ends here. This guide to the **best lemon squares recipe** is designed to help you create a dessert so good, you'll want to keep it a family secret. Forget the dry, crumbly bases or the overly sweet, rubbery fillings of the past; we're about to unlock the secrets to lemon squares that are astonishingly easy to make and utterly irresistible.
The Quest for the Best Lemon Squares Recipe: Why This One Stands Out
Many recipes claim to be the best, but what truly elevates a lemon square from good to unforgettable? It’s a delicate dance between contrasting textures and complementary flavors. This particular approach to making lemon squares focuses on a few key elements that ensure a superior result every time: an exquisitely tender shortbread-like crust, and a creamy, vibrant lemon filling that truly sings. It's the kind of dessert that fits seamlessly into any occasion – from an elegant after-dinner treat to a refreshing addition to a summer picnic or potluck. Their bright, tangy profile, perfectly balanced by the rich, buttery base, makes them an instant crowd-pleaser that mysteriously vanishes from dessert tables with remarkable speed. Plus, the convenience factor is a bonus: they’re surprisingly simple to prepare and even freeze beautifully, making them a fantastic option for busy bakers who like to plan ahead.
Unveiling the Secrets to a Perfect Crust: The Foundation of Your Lemon Squares
Every great lemon square begins with an exceptional crust. This recipe calls for a tender, shortbread-like base that is sturdy enough to hold the creamy filling, yet delicate enough to melt in your mouth. The magic lies in a precise blend of just three ingredients: softened butter, confectioners' sugar, and all-purpose flour.
Key Crust Ingredients & Tips:
- Butter: The unsung hero of shortbread. Using softened butter is non-negotiable for achieving that light, tender texture. Leave your butter out at room temperature for at least 30 minutes before you begin. If you're short on time, cut it into smaller pieces to speed up the softening process. Softened butter creams more easily with the sugar, creating a uniform, airy base that results in a perfectly crumbly yet firm crust.
- Confectioners' Sugar: This finely milled sugar is what gives the crust its characteristic melt-in-your-mouth quality. Unlike granulated sugar, confectioners' sugar blends seamlessly, contributing to the crust's delicate texture. There’s no need to sift it unless you notice significant lumps.
- All-Purpose Flour: The structure of your crust. Accuracy is key here. To measure flour correctly, spoon it into your measuring cup and then level off the top with a straight edge. Avoid scooping directly from the bag, as this can compact the flour and lead to using too much, resulting in a tough crust.
Crafting the Crust:
You'll start by beating together the softened butter and confectioners' sugar until light and fluffy. Then, gently mix in the all-purpose flour until just combined. Overmixing flour can develop gluten, leading to a tougher crust, so mix until no streaks of dry flour remain. Press this mixture evenly into your prepared baking dish. A crucial tip for easy release, as highlighted in
Martha Stewart's Creamy Lemon Bars: Easy 15-Minute Prep, is to use a parchment sling. Butter your pan, then line the bottom with parchment paper, leaving an overhang on two sides. Butter the parchment as well. This "sling" will be your best friend for lifting out perfectly intact squares once cooled. Bake the crust until it's beautifully golden brown before adding the filling.
Crafting the Creamy, Zingy Filling: A Symphony of Flavors
Once your crust is pre-baked, it’s time to prepare the star of the show: the incredibly creamy and bright lemon filling. This filling is distinctively rich and custardy, thanks to a clever combination of ingredients.
Key Filling Ingredients & Tips:
- Sweetened Condensed Milk: This thick, syrupy ingredient is the secret to the filling's unparalleled creaminess and its ability to set beautifully. It provides a luxurious texture and just the right amount of sweetness, eliminating the need for granulated sugar in the filling. It's imperative not to substitute evaporated milk, as it lacks the sweetness and body necessary for the filling to achieve the desired consistency and set properly.
- Fresh Lemon Juice: For that quintessential bright and zingy flavor, you'll need a generous amount of fresh lemon juice – about three-quarters of a cup. The juiciness of lemons can vary, so be prepared to use anywhere from three to five lemons. To extract the maximum amount of juice, firmly roll each lemon on your counter for a few seconds before slicing and squeezing. For an even more intense lemon aroma, you can finely grate a teaspoon or two of lemon zest into the filling mixture; while not strictly in the base recipe, it’s a chef's secret to elevating the citrus punch.
- Egg Yolks: Four egg yolks are what give this filling its magnificent custardy texture. They act as a natural thickener, ensuring the filling bakes up smooth and luscious. Don't discard the egg whites! They can be saved for other culinary adventures, such as making an omelet or protein-packed pancakes.
Bringing the Filling Together:
Simply whisk the sweetened condensed milk, fresh lemon juice, and egg yolks together until well combined. The mixture will be smooth and pourable. Pour this vibrant yellow filling over your pre-baked, slightly cooled crust. The simplicity of this step belies the incredible complexity of flavor it will yield.
Assembly, Baking & Serving: Making Your Lemon Squares Shine
With the crust and filling ready, the final steps are straightforward, leading you to your ultimate reward: a batch of the **best lemon squares**.
Baking to Perfection:
After pouring the filling over the golden crust, gently place the baking dish back into the oven. The filling will bake until it's set, typically with a slight jiggle in the center, indicating it's done without being overbaked. Overbaking can lead to a rubbery texture, so keep an eye on it.
Cooling is Key:
Perhaps the most crucial, yet often overlooked, step for perfectly cut lemon squares is allowing them to cool completely. This means letting them come to room temperature, and then chilling them in the refrigerator for at least a few hours, or ideally, overnight. This extensive cooling time allows the creamy filling to fully set, ensuring clean, sharp cuts and a stable, delicious dessert. As detailed in
The BEST Lemon Squares: Sour, Tart & Buttery Shortbread Recipe, patience in cooling is rewarded with superior results.
Effortless Removal and Presentation:
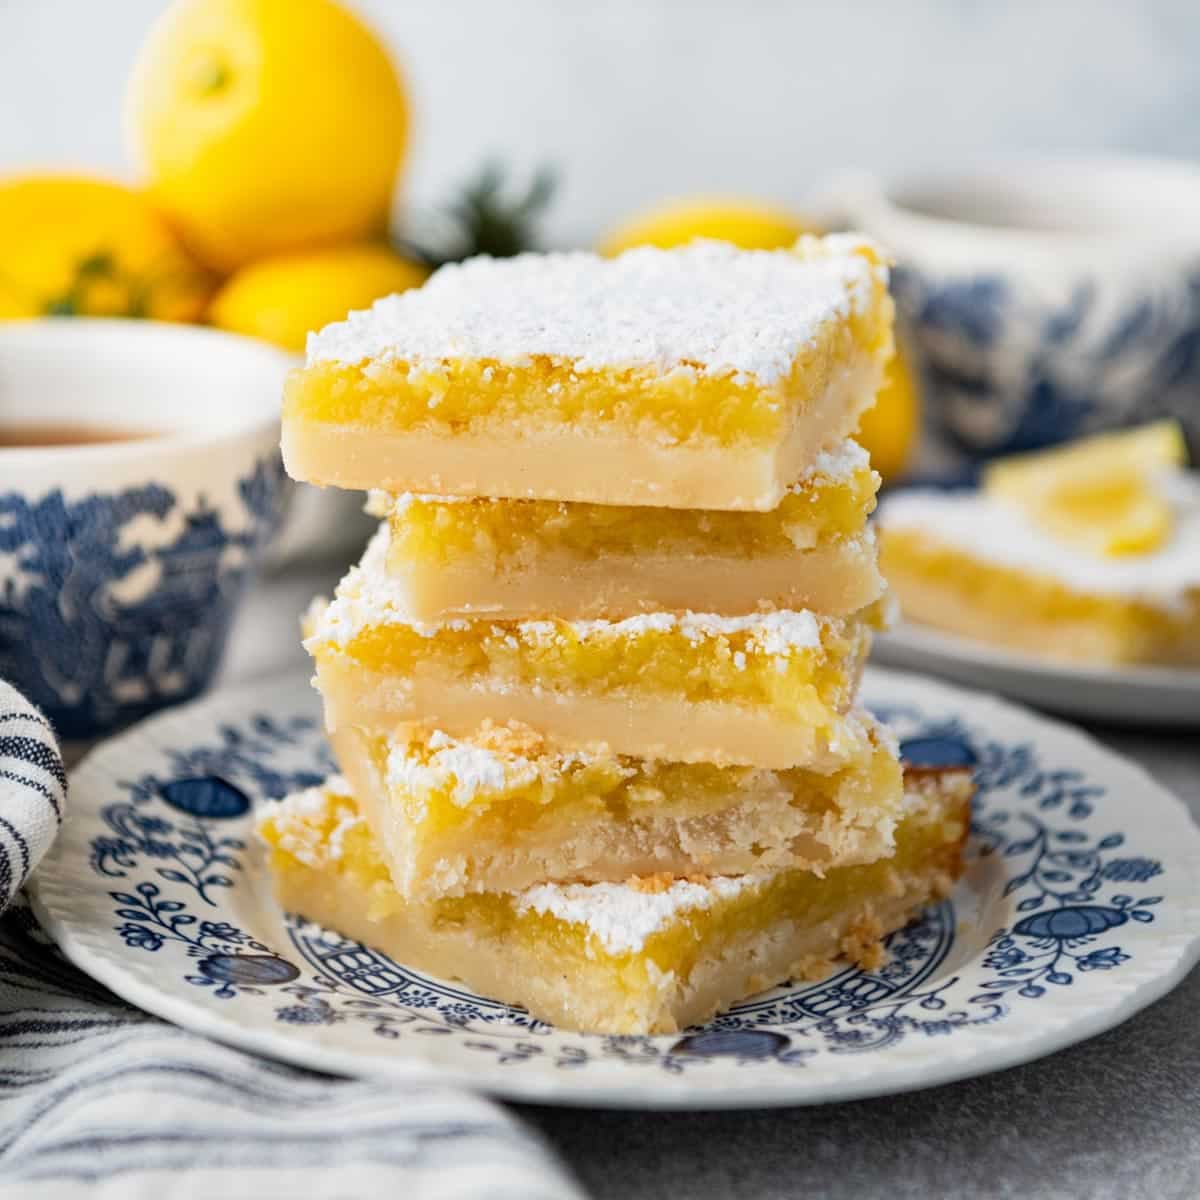
Once fully chilled, use your parchment sling to gently lift the entire slab of lemon squares from the pan. Place it on a cutting board. For impeccably neat squares, use a sharp, warm knife, wiping the blade clean between each cut. A light dusting of confectioners' sugar just before serving adds an elegant finish and a subtle touch of extra sweetness. These squares are incredibly versatile – serve them after dinner, pack them for a picnic, bring them to a potluck, or simply enjoy one straight from the fridge with an afternoon coffee. They truly are a delightful treat for any occasion.
Conclusion
Finding the ultimate lemon square recipe can feel like a lifelong quest, but this guide provides a clear path to success. With a tender, buttery shortbread crust and a rich, zingy, custardy lemon filling, this recipe delivers on every promise. The simplicity of the ingredients and the straightforward steps make it accessible for bakers of all skill levels, ensuring that you too can master what many consider to be the **best lemon squares recipe** out there. Prepare to impress your family and friends, or simply indulge in a perfectly balanced, bright, and satisfying dessert that you’ll want to make again and again.